


It was and early Saturday morning, a few weekends ago, when I went to dig up two mature Rhododendrons that I found for sale on Craigslist. This is a great place to find and get a deal on established plants.

Here is old red, this 20+ year old Rhododendron was no longer valued by this homeowner in its current location. So rather that chop it down, like so many other people would, this homeowner posted it on Craigslist. Now, this benefits not only the seller but also the buyer, where else could I get mature plants at a reasonable cost, and where else would this homeowner pocket a few dollars and not have to dig up or dispose of this valuable plant material. What a beautiful arrangement
 Rhododendrons are a relatively shallow rooted plant, so they are perfectly suited to being moved around at a mature age. Now there are varying degrees of maturity, one look at the trunk of this one and I new that I could dig it out by hand and haul it off. If it had been a really thick truck then some mechanical intervention would have been necessary. With two shovels, one hand pick, a pair of loppers and some sweat equity, my neighbour and I got busy digging up this gem.
 45 minutes later, some pulling and tugging revealed this baby was ready to release it's self from it's current home.
 We also dug up another mature Rhodo, this one still had the original tag on it, meet "Alice" very pretty.
 With both Rhodo's loaded and strapped into the utility trailer, off we leave Tsawwassen for Richmond.
 2009, as our fence was being replaced,
 Summer 2009, planting annual Dahlia tubers was something to fill the empty space until something more substantial could be acquired.
 2010, something more substantial, with the newly acquired Rhododendron, I needed to find the perfect spot and angle to plant the bush.
 In it's original location this plant was leaning a little to the right with one of it's branches rooting itself in the soil. When re-planting , I needed to tilt it a little to the left to balance out the over all look.
 Viola, an instant mature look to the area.
 Next up, planting Alice, the root ball on this one was a lot smaller and easier to dig up.
 An empty spot just crying out for something mature to be planted there, "pick me, pick me" can you hear it?
 It looks like it has always been there, don't you think. Now this bush really needs to be pruned back hard, I really had to tilt this one to get the main branches to look proper. Rhodo's are really resilient plants, they will generate new growth on old wood, it's really quite an amazing thing to watch, you just have to have a little patience and forgo some blooms for a year or two.
 Back to old Red, with my pruners is hand, I needed to be brutal. I needed to really open up the plant, getting rid of the crossing, and the weak branches. Balancing up the bush, and allowing the light to shine on the remaining, exposed wood. This will stimulate the new growth.
 Let the light shine in.
 Brutal right, well not as drastic a pruning job as I have done to a Rhodo in the past. Years ago, I pruned back my mom mature Rhodo hard, I mean there was only a few green leaves left, but it had just finished blooming so the new growth was just coming out. I remember she was devastated, thinking that I had done irreparable damage, and surely killed her plant. Well, it's been a few years now and the bush has never look as good or blooms so profusely. Really, these are hardy plants people!
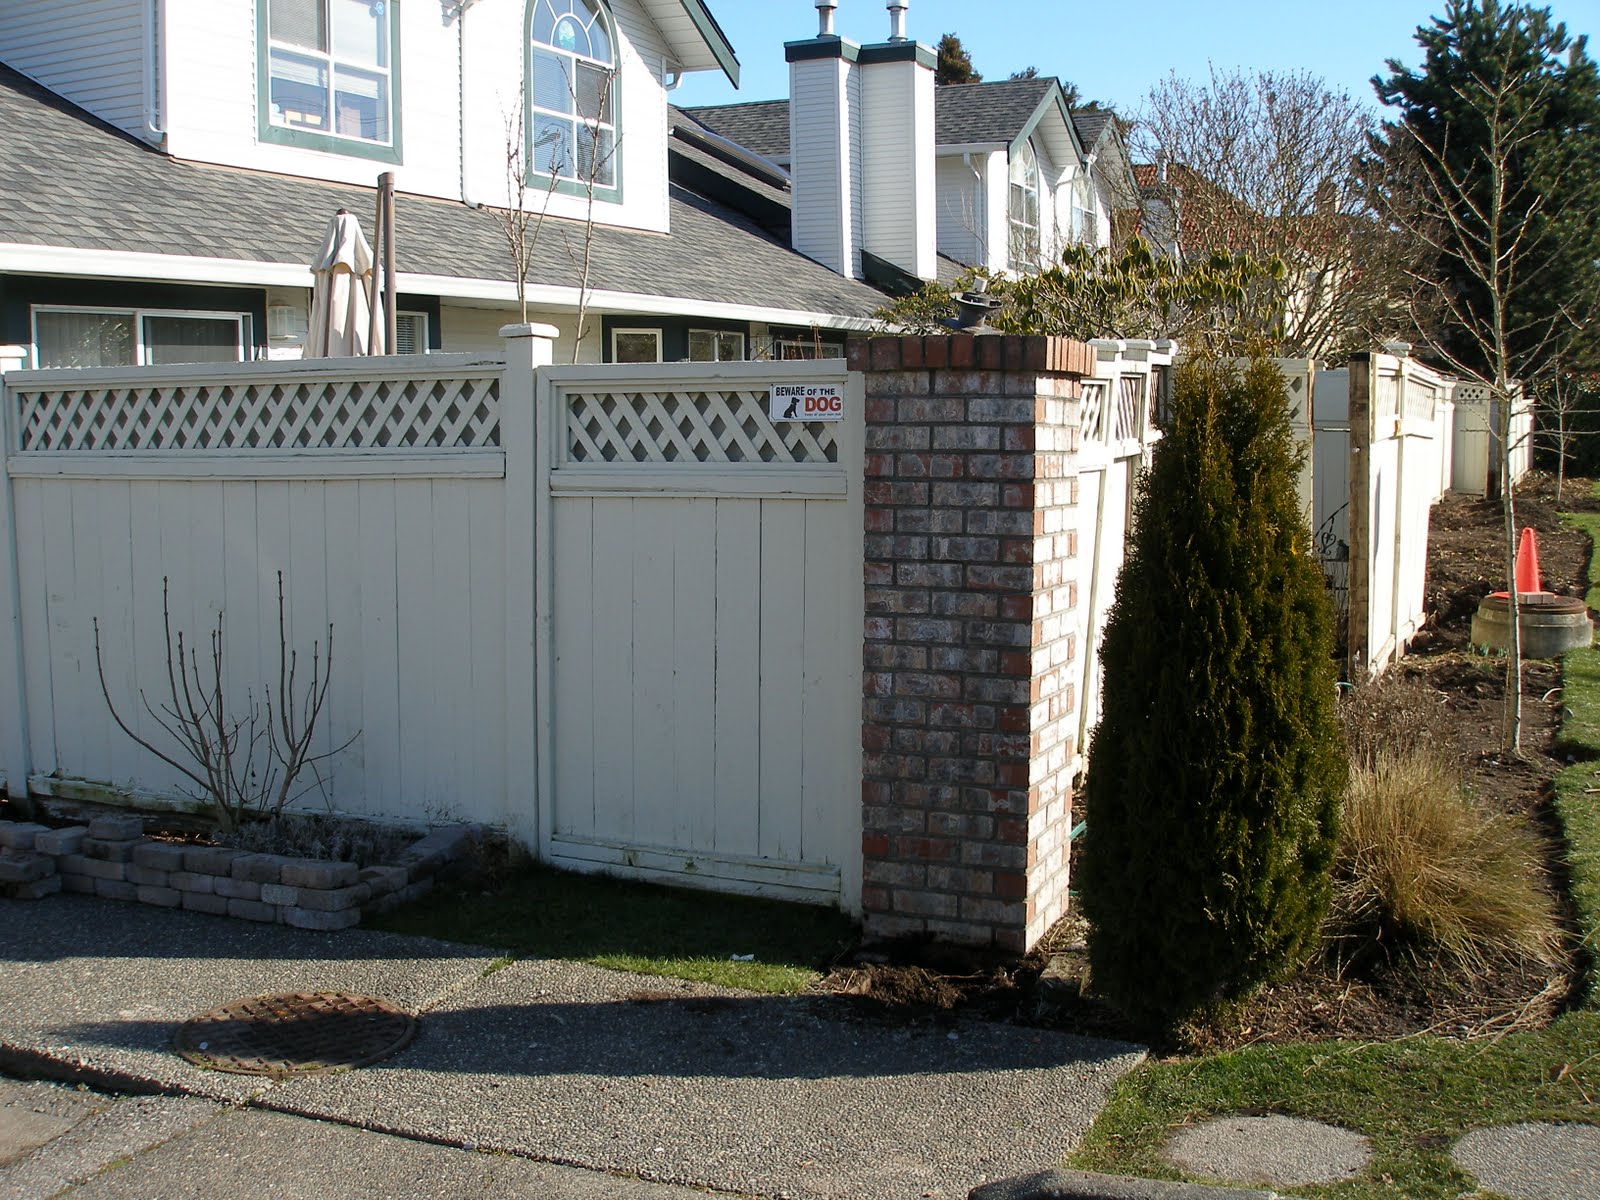


 A really neat potting shed. What a great use of doors and windows. If only I were that handy.
 A little art in the garden. How every day items, new and old can be put on display and add a little cents of whimsy.
 A nice place to sit a relax in the garden, but as any gardener will attest, it is a rare scene to see one resting in the garden, the moment you sit down to admire your efforts, you see something else that needs fussing with, and off you go again.
 I really like the natural look of this fence around the vegetable garden.
 Beautiful combination.
 Poppies.
 This was a neat little piece of garden art, a stone frog in the bird bath.
 Enough said.
 This goes to show you that container gardening can still offer up a lot of texture and colour to your outdoor space.


